Creating AI Agents
Welcome to the process of building your first AI Agent! This guide provides the essential, step-by-step instructions needed to go from an initial setup to a fully published conversational AI Agent with foundational conversational flows.
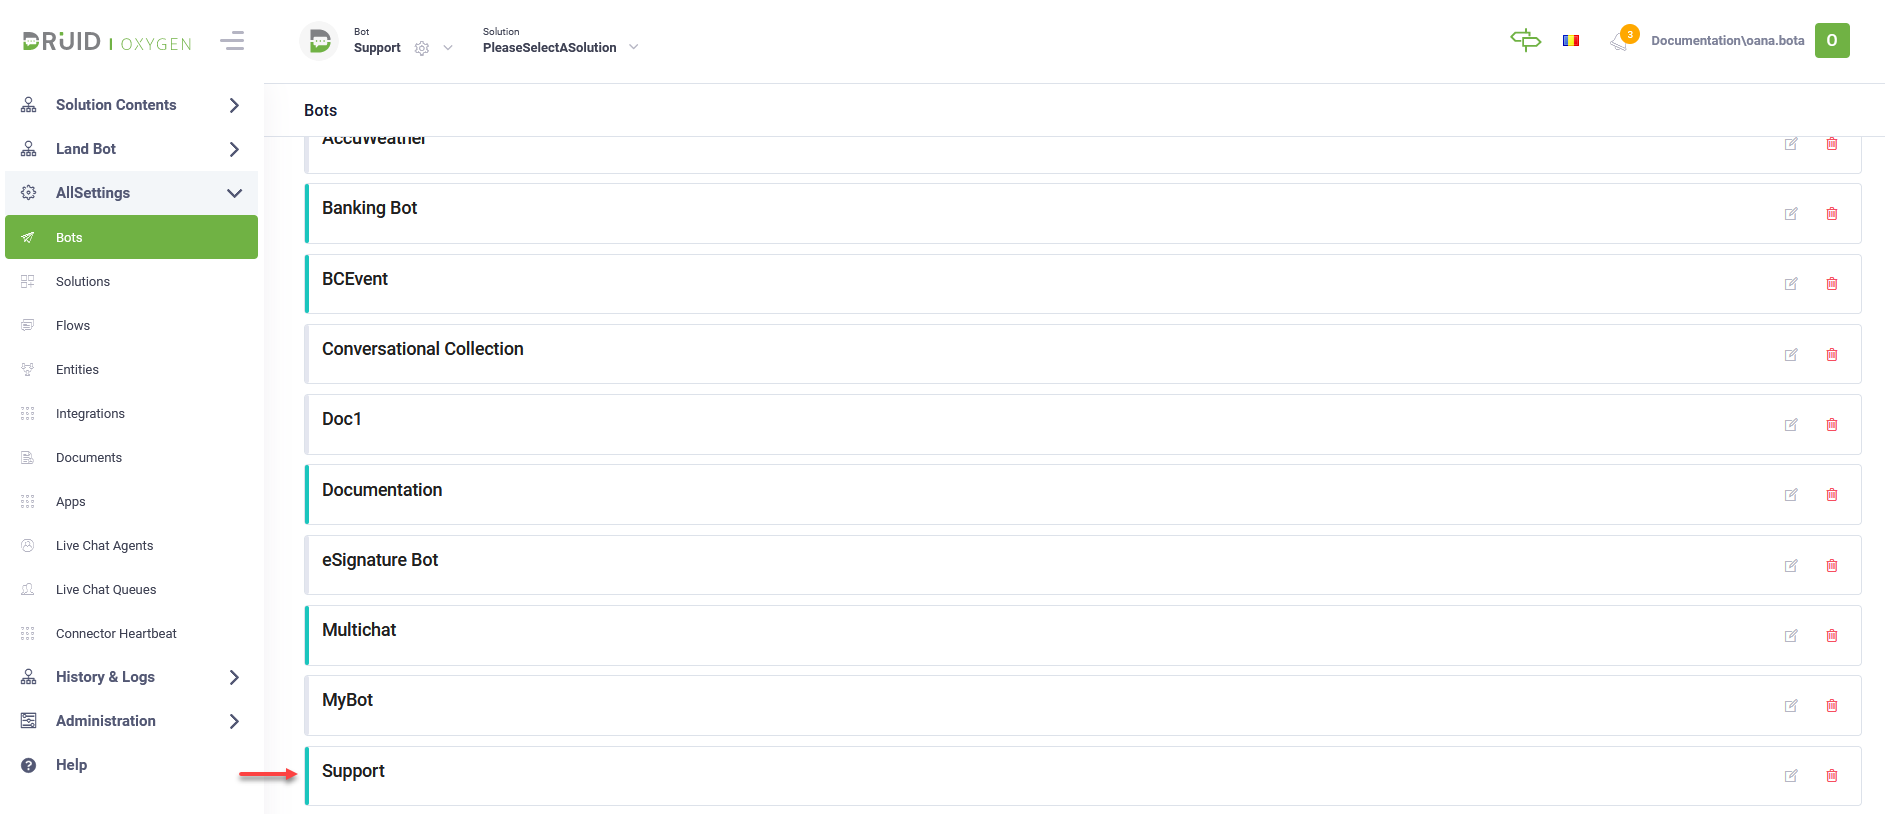
Step 1: Set up and name your AI Agent
- Log in to your Druid tenant.
- In the header, click on AI Agent and select Create AI Agent.
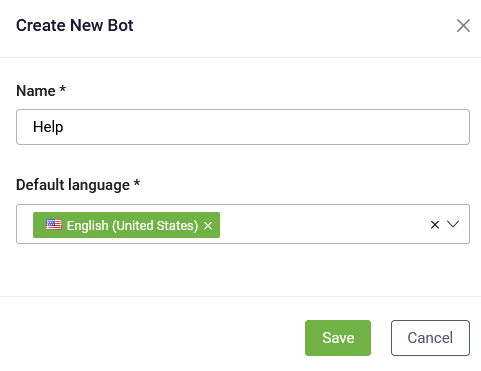
- In the Create New AI Agent modal:
- Enter a unique name for your AI Agent in the Name field.
- Choose the Default Language for the AI Agent.
- Click Save. The page refreshes, opening the AI Agent settings on the Details tab.

NOTE: Names must be unique within your tenant. If a name is already in use, the creation process will fail.
To ensure the integrity of your AI Agent configuration, once an AI Agent initial configuration is saved, the default language becomes read-only. Introduced in Druid 9.19, this restriction prevents accidental changes that could break existing flows, intent recognition, or language-specific entity configurations.
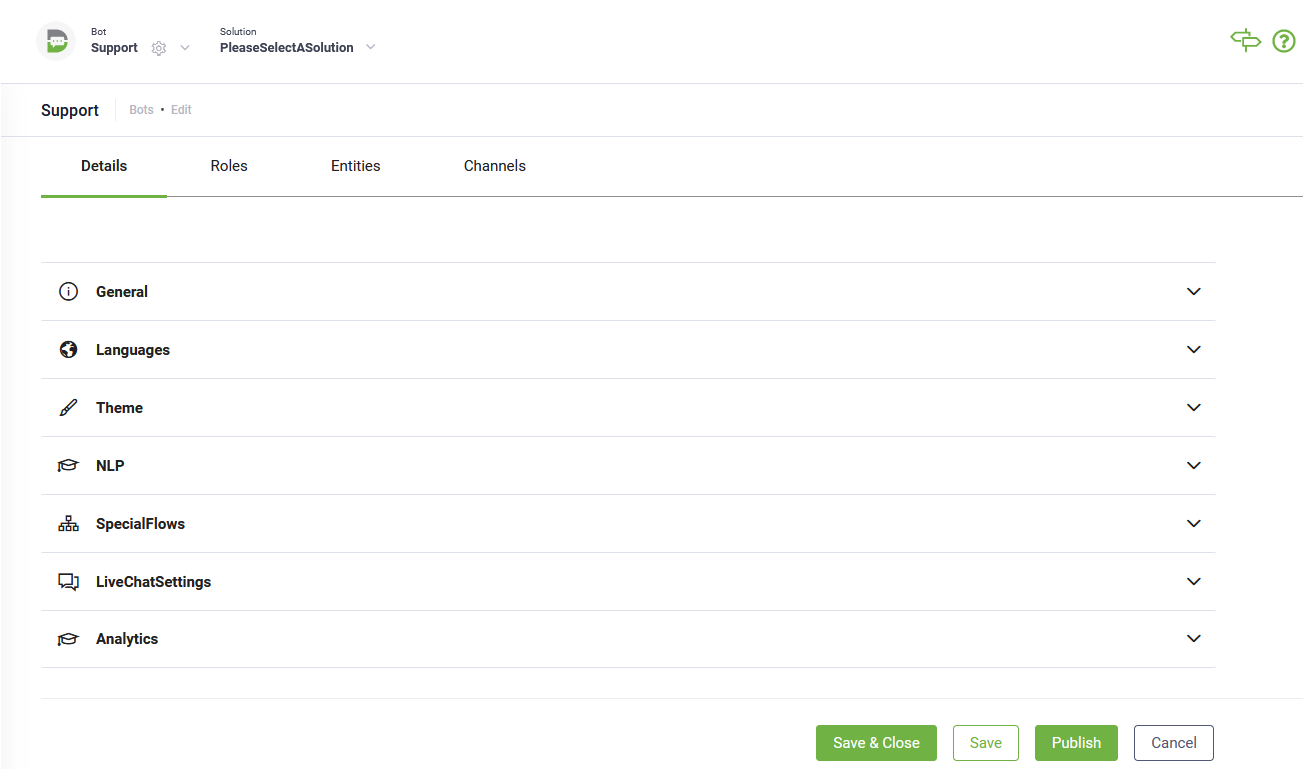
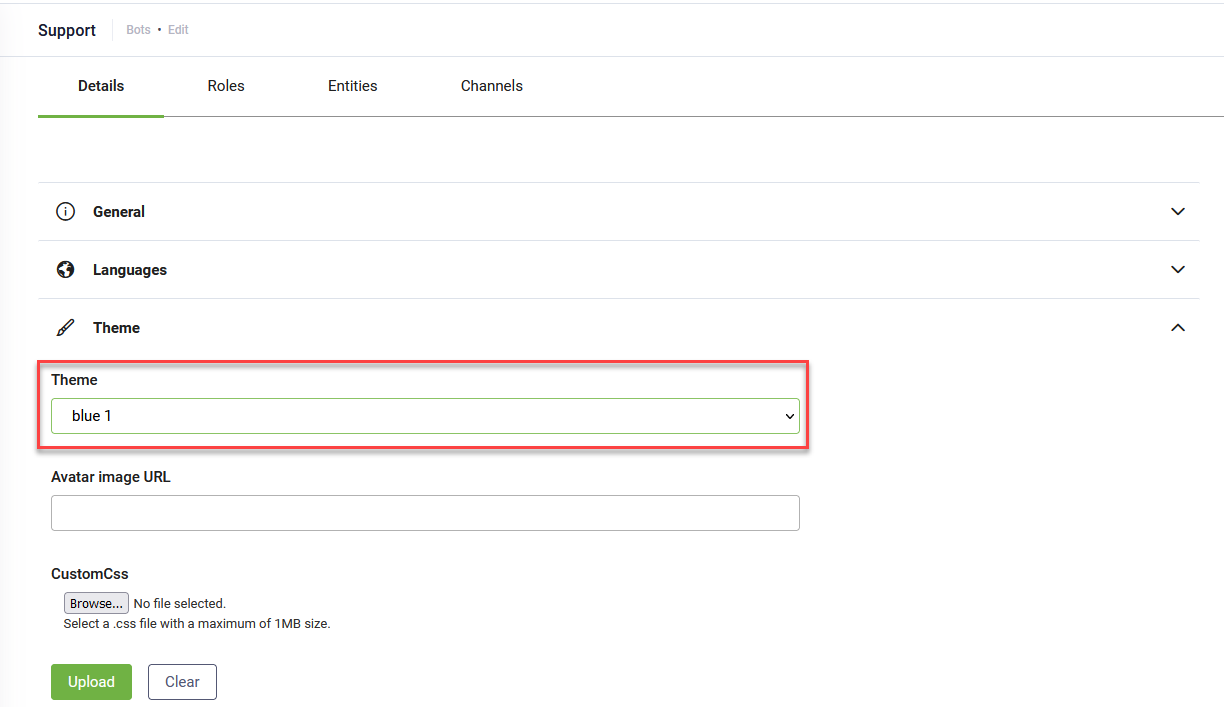
Step 2: Configure the AI Agent appearance
On the settings page (Details tab), configure the AI Agent appearance:
- Click the Theme section header.
- Enter an image URL in the Avatar image URL field to set your AI Agent avatar.
- For advanced configuration, click Customize webchat and configure the desired web chat settings. For more information, see WebChat Common Styling and Behavior (Bot framework v4).
- Click Save at the bottom of the page to apply these settings.
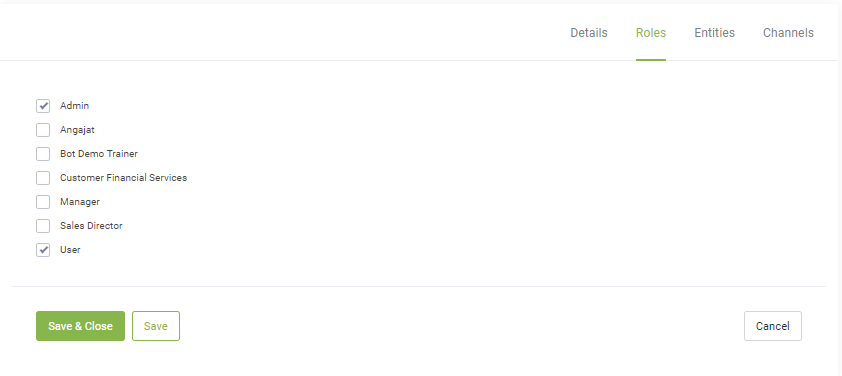
Step 3: Select user roles
AI Agents interact only with users who are assigned specific security roles. Define which roles can access the AI Agent.
- Click the Security tab.
- Click the Used by section header.
- Verify the default Admin and User roles are checked to allow all authenticated and unauthenticated users to interact with the AI Agent.
- Select any additional roles based on your target audience.
- Click Save.
Step 4: Publish the AI Agent
Publishing the AI Agent is essential to make it functional and provision all the required resources in your Druid environment.
- Click the Details tab.
- Click the Publish button at the bottom of the page.
- After clicking Publish, a notification appears at the top of the page: “Request for provisioning was successfully sent!”. Monitor the AI Agent provisioning status using the following color indicators:
- Orange: The request is in progress.
- Green: The request has been successfully completed.
- Red: The process has failed. If the publishing fails, please contact the DRUID Technical Team.
-
After publishing, you can test the AI Agent. Open the chat bubble on the right side and type your messages.
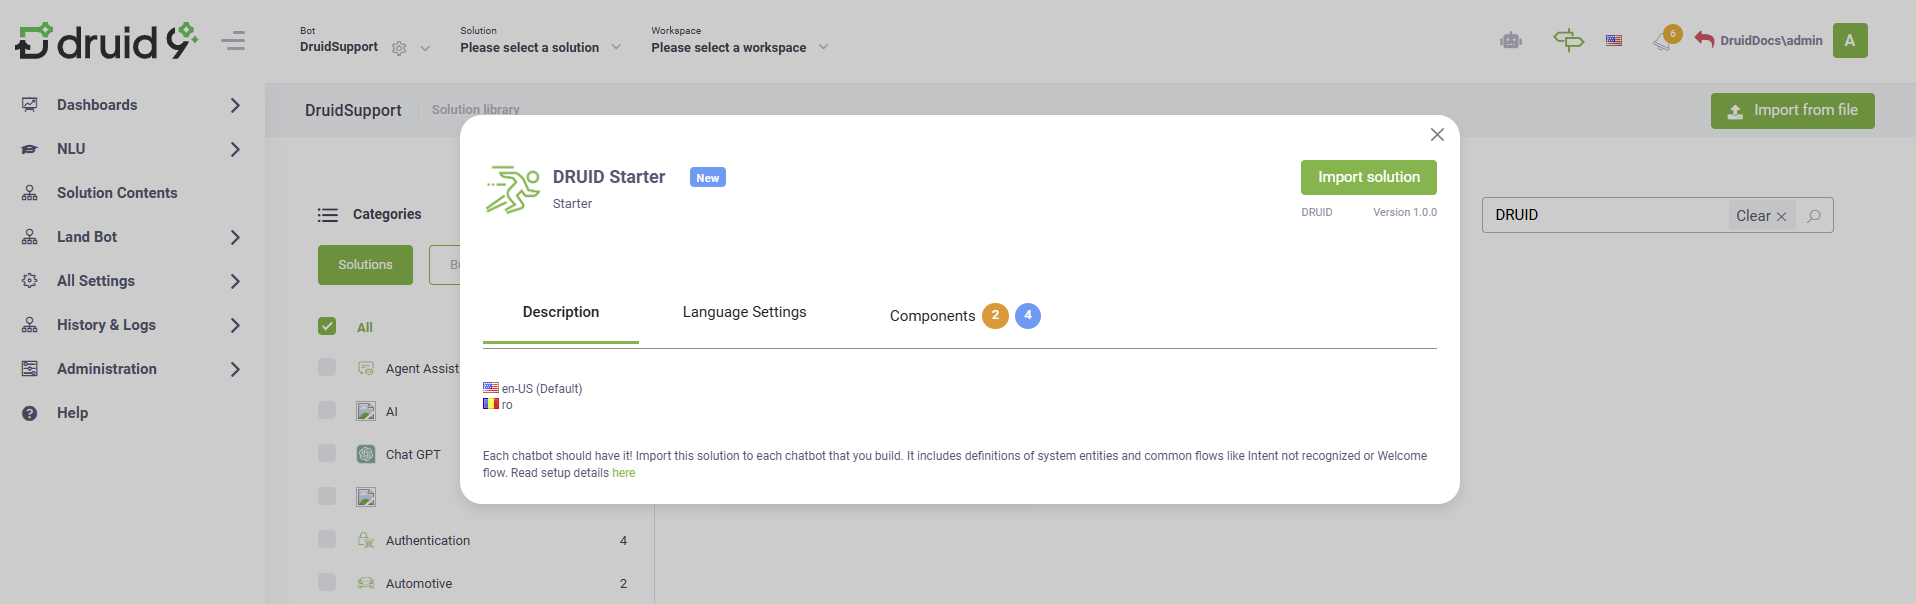
Step 5: Import Druid Starter solution
After publishing, the AI Agent lacks conversation flows. Import the Druid Starter solution to give your AI Agent foundational intelligence.
- On the header, click the Solution dropdown, and then select Import solution.
- In the Solution Library, search for DRUID Starter and import the solution. The solution includes definitions of system entities and common flows.
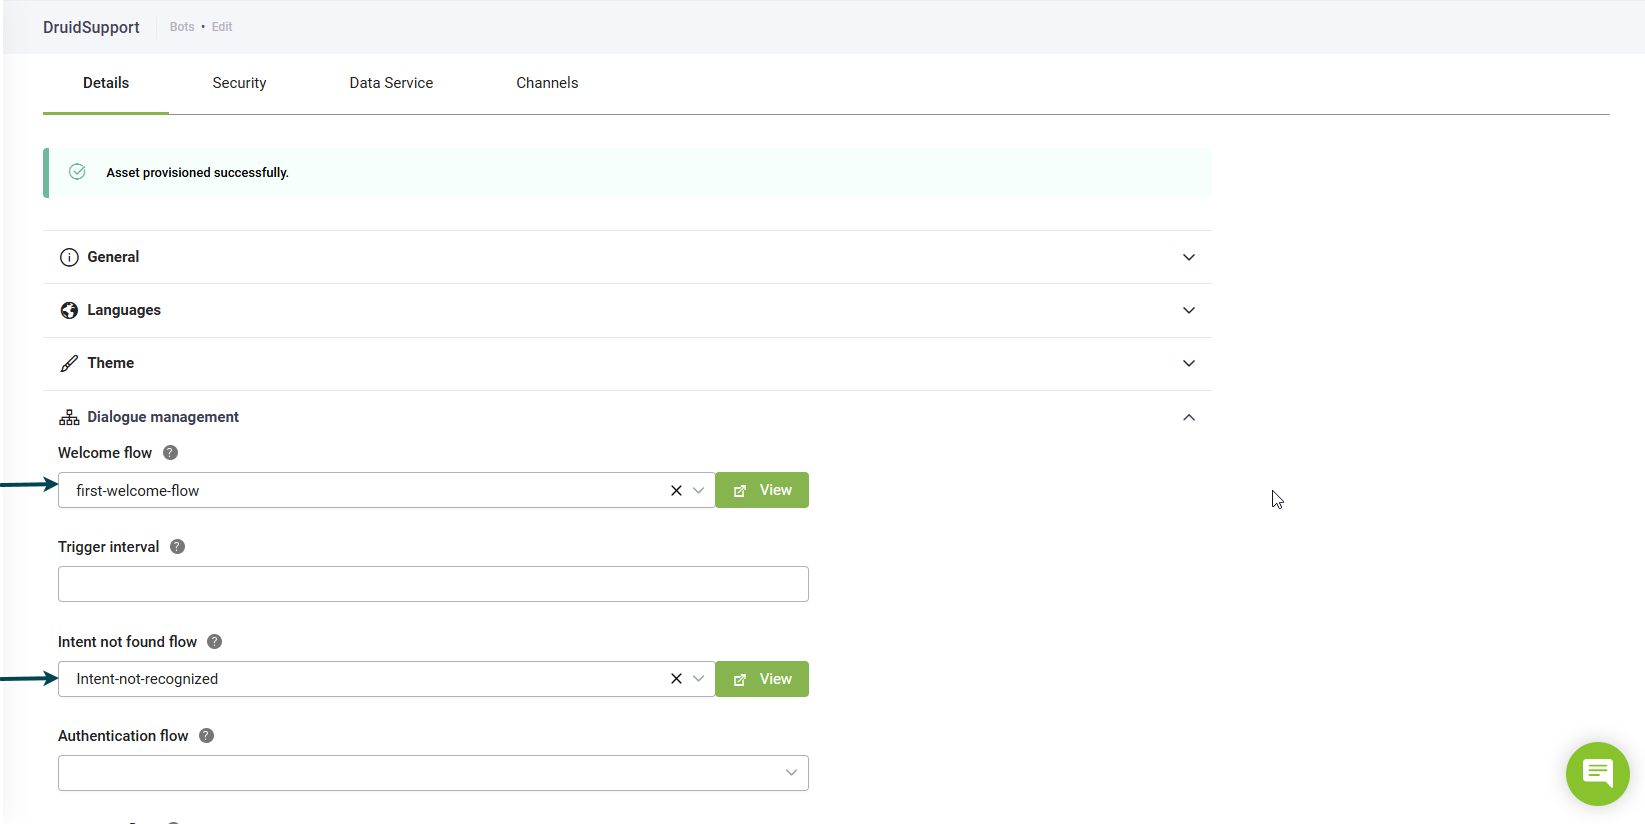
- Navigate back to the AI Agent settings page and click the Dialogue management section header.
- Select the imported flows from the Welcome flow dropdown and the Intent not found flow dropdown.
- Click Save at the bottom of the page to save the AI Agent configuration.